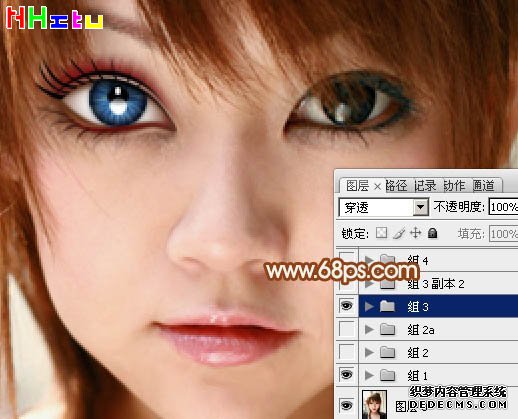
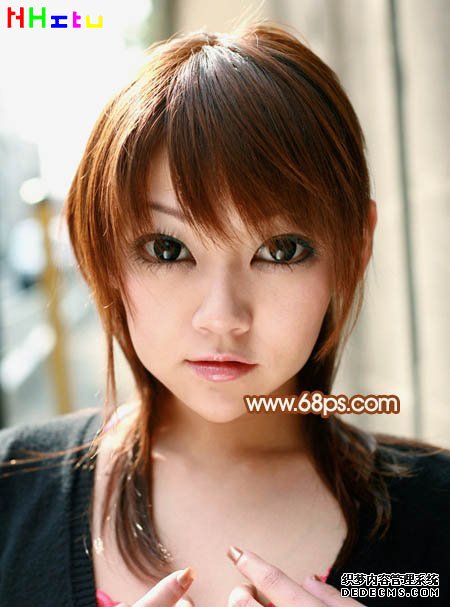
photoshop教程原图
![](https://www.ningmop.com/wp-content/uploads/c121016/13503459533220-3JY4.jpg)
<图1>
最终效果
![](https://www.ningmop.com/wp-content/uploads/c121016/135034595552K0-3YA3.jpg)
<图2>
1、打开素材图片,新建一个组,把背景图层复制一层,用鼠标拖到新建的组里面。
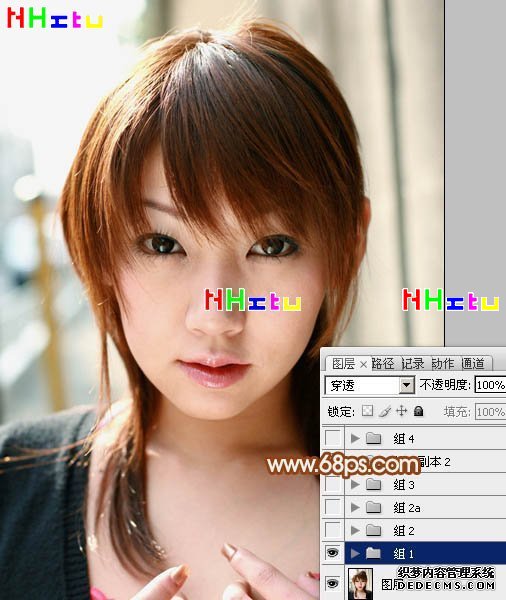
![](https://www.ningmop.com/wp-content/uploads/c140913/14105b202430-35P7.jpg)
<图3>
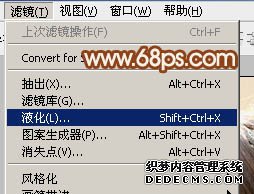
2、对副本图层执行:滤镜 > 液化,选择液化工具面板最上面一个工具,然后涂抹人物的脸型,涂成瓜子脸。还有嘴巴及鼻子部分都需要涂抹修整一下,过程如图5,6。
![](https://www.ningmop.com/wp-content/uploads/c140913/14105b203160-44607.jpg)
<图4>
![](https://www.ningmop.com/wp-content/uploads/c121016/135034596024C0-419324.jpg)
<图5>
![](https://www.ningmop.com/wp-content/uploads/c140913/14106005V210-19311.jpg)
<图6>
3、用套索工具把人物的眼睑选取出来如图7,羽化5个像素如图8。
![](https://www.ningmop.com/wp-content/uploads/c140913/14106005VW0-22142.jpg)
<图7>
![](https://www.ningmop.com/wp-content/uploads/c140913/14106005W5F-3L94.jpg)
<图8>
4、按Ctrl + J 把眼睑复制到新的图层,按Ctrl + T 变形,按住Shift + Alt等比例拉大,自己满意后回车确定。
移动眼睛放好位置,另一只眼睛可以用套索工具选取后移动,效果如图10。
![](https://www.ningmop.com/wp-content/uploads/c140913/14106005X230-4V26.jpg)
<图9>
![](https://www.ningmop.com/wp-content/uploads/c140913/14106005Y050-51U0.jpg)
<图10>
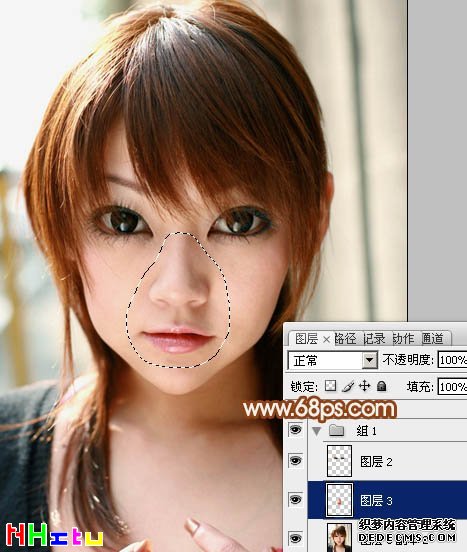
5、回到副本图层,用套索工具把鼻子及嘴巴选取出来,羽化3个像素后按Ctrl + J 复制到新的图层,然后用移动工具向下移2个像素,效果如图12。
![](https://www.ningmop.com/wp-content/uploads/c140913/14106005YL0-D355.jpg)
<图11>
![](https://www.ningmop.com/wp-content/uploads/c140913/14106005Z510-N928.jpg)
<图12>
6、现在来处理眼睛,需要完成的效果如下图。
![](https://www.ningmop.com/wp-content/uploads/c140913/1410600592540-T0V.jpg)
<图13>
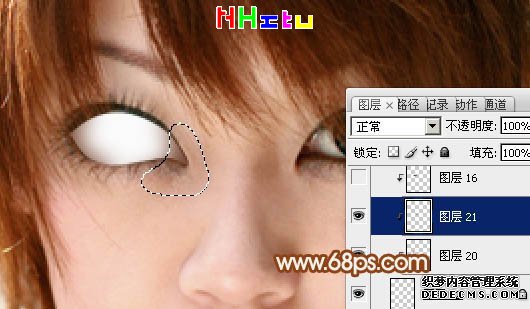
7、新建一个组,在组里新建一个图层,用钢笔勾出眼部的轮廓,转为选区后填充白色。
![](https://www.ningmop.com/wp-content/uploads/c140913/14106005935F-9DK.jpg)
<图14>
8、新建一个图层,按Ctrl + Alt + G 创建剪贴蒙版,然后在当前图层下面新建一个图层,用钢笔勾出左侧的暗部选区,羽化5个像素后填充暗红色。
![](https://www.ningmop.com/wp-content/uploads/c121016/1350345a312W0-5194Y.jpg)
<图15>
9、新建一个图层,同上的方法制作右侧的暗部。
![](https://www.ningmop.com/wp-content/uploads/c140913/1410600595050-1140Y.jpg)
<图16>
10、新建一个图层,用钢笔勾出底部暗部区域,羽化1个像素后填充暗红色,如图17。取消选区后新建一个图层,用钢笔勾出图18所示的选区,羽化1个像素后填充稍亮的暗红色,中间部分可以用减淡工具涂亮一点。
![](https://www.ningmop.com/wp-content/uploads/c140913/1410600595940-1222N.jpg)
<图17>